Charlie Brown Halloween Decor

MEMOIRS
When my little girl was younger, I used to make all sorts of outdoor decor’ for the holidays. That was fun back then, but as parents know they tend to outgrow these things, so I quit making them; until recently when I decided to write about them. During the past two months I have completed 13 projects for an e-book I had been working on called “Halloween Projects for the Family” selling for $2.99 at Amazon.com and in the next couple of months I will share them with you.
“Charlie Brown Halloween”
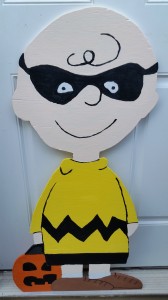
This first project is titled “Charlie Brown Halloween” and is a lot easier to make then it looks. This one is made out of 3/8 plywood, but I recommend beefing it up to 1/2 for stability. Painted with paint and primer in one for durability, but it is really up to you. Here we go…
Plans
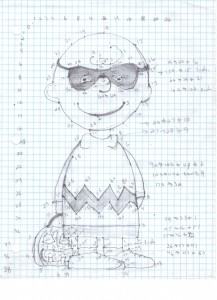
I always start my work on paper, I suppose most folks do as well. This way I can edit the project before any actual cuts on wood. If you can zoom in you will notice numbers all over. That is because I made a plot and grid system so that I can easily transfer Charlie Brown unto my cutting board. What is also pretty cool about the grid system is that you don’t need to know how to draw and you can make you final project bigger simply by multiplying the numbers by 2 or more? For example, grid (2, 5) will become (4, 10) and so on.
The Points
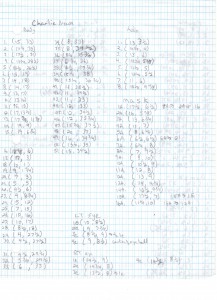
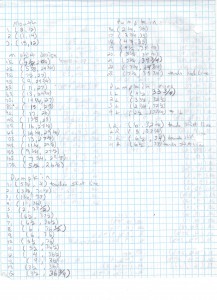
While this may look like chicken scratch; once you zoom in you should be able to see much clearly the points and descriptions on what they represent. I suggest to look at the unpainted finished Charlie Brown as you go along and to connect the dots in sets so as to not have too many numbers and dots on the board. Another suggestion is to sand the board before plotting, that way all you have to do is sand the areas you had to cut.
Don’t forget safety folks. Til next time; have fun , be safe and go make something!
See ya!
Kings Reyes C.JR.


