The Fat Bat
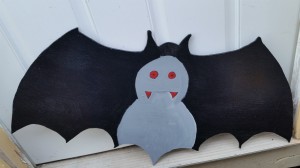
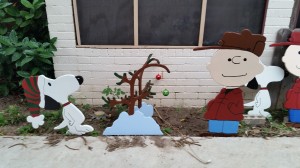
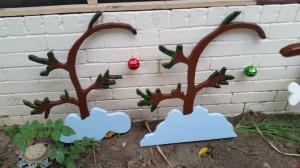
This is one of my simpler wooden projects I had made for the yard. I call it “The Fat Bat” and as you can see it is roughly 38″-40″ in width and 24″ in height. This one is made from 1/4″ plywood and got double coat with a high gloss water-based paint. You could give it a coat of a water-based clear coat to make it last longer, but I did not since it is displayed for a couple of months outdoors and the rest of the time indoors in storage. I did use a good multi purpose paint for the projects.
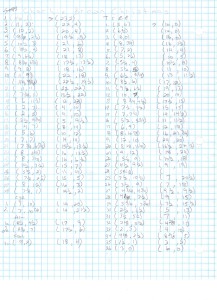
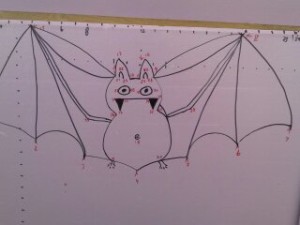
The following contains the grid coordinates to make this project should you wish to.
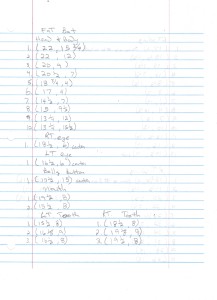
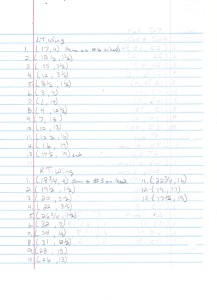
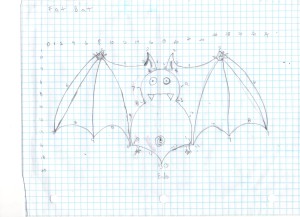
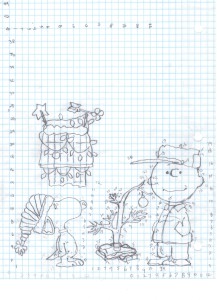
I started the project on grid paper and then transferred it to wood.
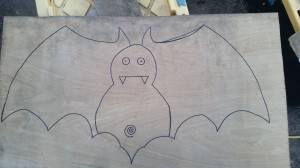
I then used a scrolling jigsaw to cut out the shape. Any jigsaw will work fine,but I am using a Skil jigsaw outfitted with a scrolling jigsaw blade which makes cutting irregular patterns on wood or other surfaces easier than regular wider jigsaw blades.
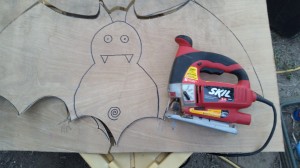
This jigsaw has a scrolling feature which allows the cutting blade to move around without turning the saw, the blade is controlled by the top knob on the jigsaw. Works really well, but like I said; a regular jigsaw outfitted with a scrolling blade will work just as well.
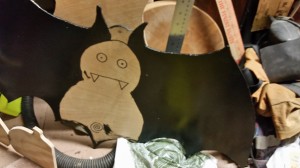
I applied two coats of a high gloss paint and primer in one type of paint. I later added two grayish coats and other details to complete The Fat Bat project. I drilled a small hole so that I could run fishing line through it and hanged it outside for display.
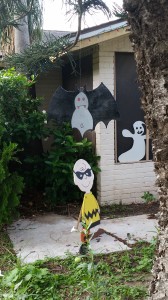
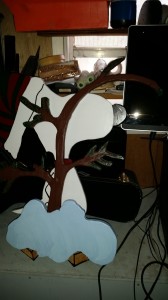
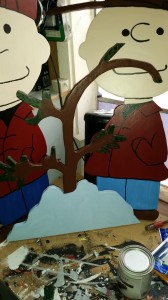
Several years ago I did a simpler project using 4′ x 8′ sheets of insulation board. Worked pretty well but remove the clear plastic before applying any paint.
I had used a keyhole saw to cut it. Using insulated board makes cutting easier and less noisy, but the overall projects might break in high winds. Still, I have used it in several projects where the cuts are not as delicate.
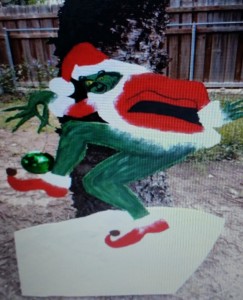
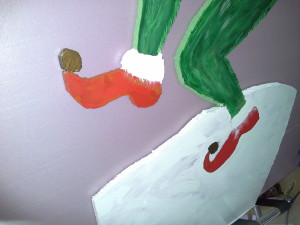
Some of the weak points were the base where the Grinch was anchored to the ground. I should have made it more secure by not cutting the Grinch’s body.
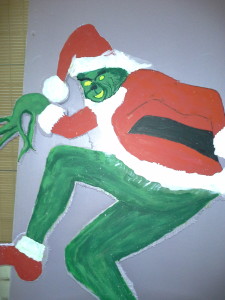
I really liked the end result because of a more realistic look to the hairy parts which was a breeze to create on the insulation board verses if I had used real wood, but because some of this projects were meant for an eBook and not made for the long run; I decided not to use wood. The insulation board was lighter to carry and move around.
If you want you can check out this project and many more on an eBook at Amazon.com where you can find the Grinch and many other projects should you wish to try some out. As time goes by I will include here as well. The book is called Christmas Art; Making Outdoor Decorations for your Home by Kings Reyes Chapa.
Til next time; See You later.
